
Face it, your wood floors have seen better days. And financing a remodel complete with new shortboards isn’t going to be cheap.Our advice? Save your cash for a rainy day and check out how these DIY wood floor makeover tips will make your apartment or home go from drab to fab for under $200.
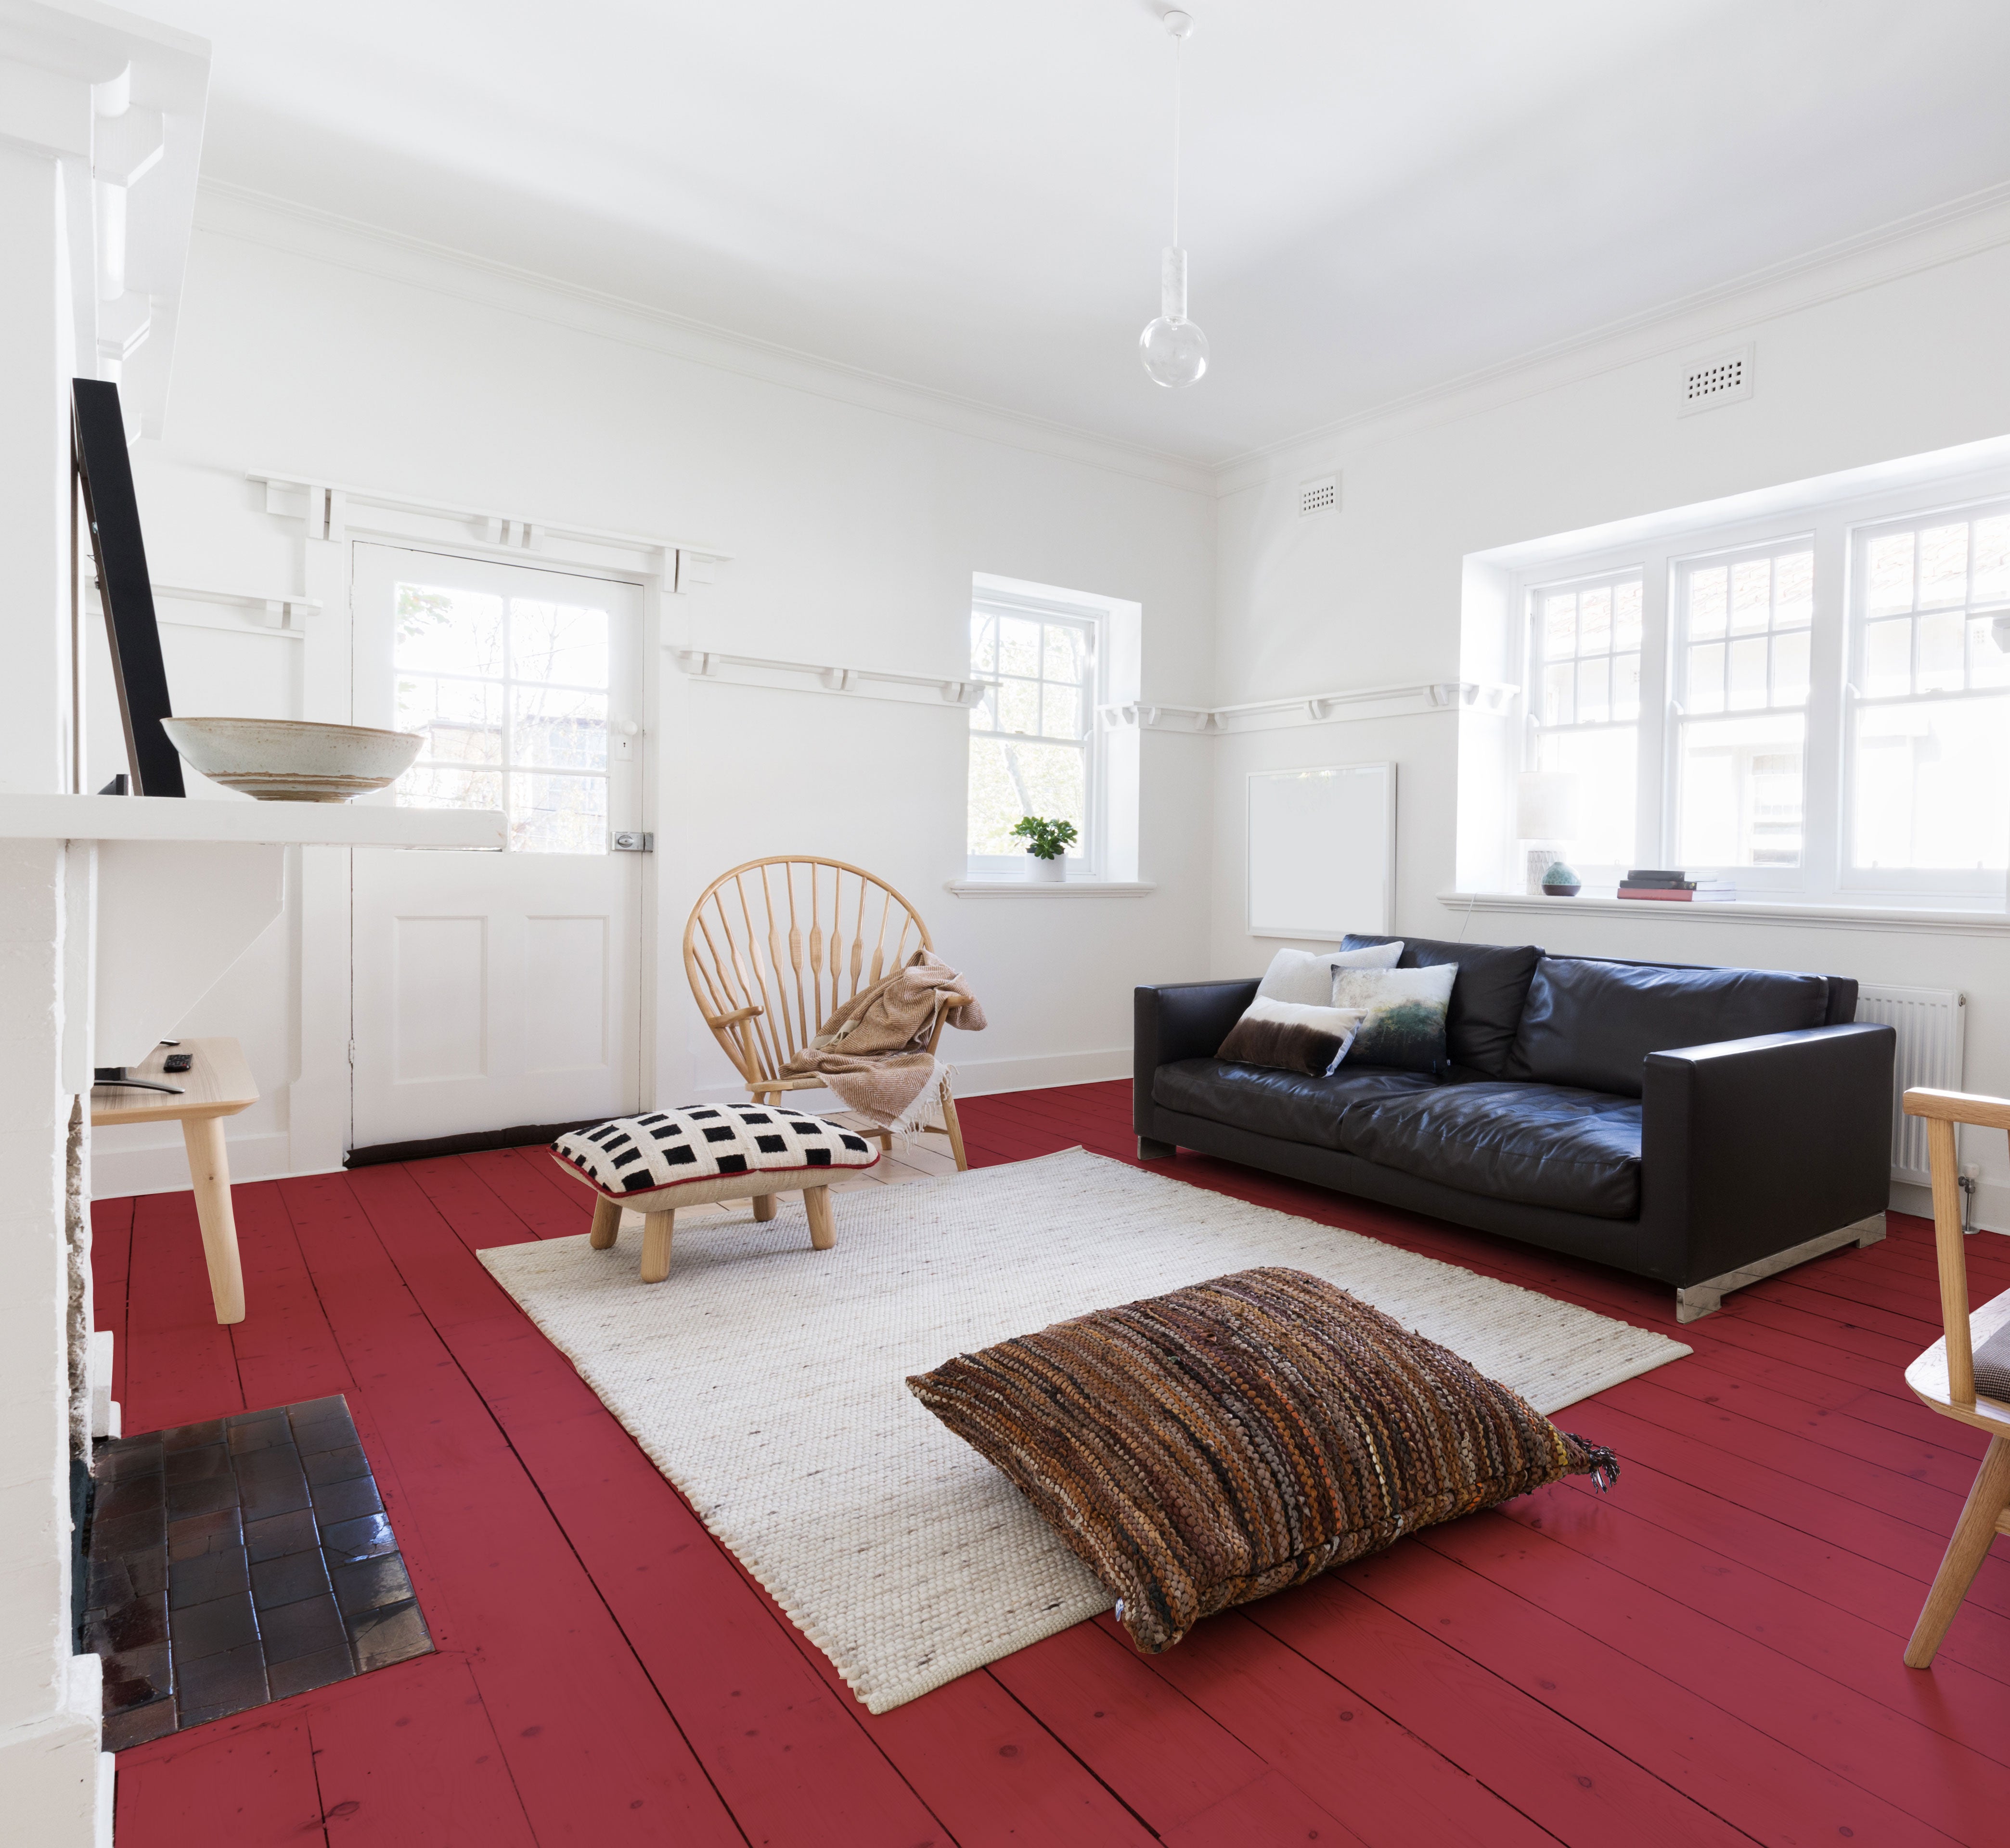 If your wood floors are showing their age (in a bad way), consider painting them rather than replacing them. While painting your floors may take some courage, it’s still a lot cheaper than replacing them - and you’ll likely be pleasantly surprised with the outcome. With loads of vintage charm, this painted floor design focuses its vivacious red color accent on the floor. A stark juxtaposition to the traditional (where wall colors do all the work). While stark white walls are often sterile, you can see just how splendid the red floor highlights work together with white.
Head to your local hardware or paint store and purchase the following:
Note: You can paint your floors with Latex, but we recommend oil base for a better finish and long-term resilience.
Step 1: Scrub your floors well with warm water mixed with Murphy’s Oil Soap and let dry.
Step 2: After your floor is thoroughly dry, apply the Minwax Formby’s Paint & Poly Remover (follow the directions carefully). Formby’s is a treatment designed to remove Polyurethane and other finished from your floor.
Step 3: After the Formby’s application, you may want to gently sand any blemished areas of the floor using your fine-grit sandpaper. The key is gently. You want to avoid oversanding the bare wood. Otherwise, you’ll have bumps, pits and an unleveled surface layer of your floor.
Step 4: Carefully clean up all traces of sawdust with a vacuum. Next, take a damp rag and go over the surfaces again to ensure your floor is sawdust-free.
Step 5: Prep your walls and baseboards with the Painter’s Masking tape.
Step 6: Apply the primer base layer to the floor with your rollers. For corners and certain hard-to-roll areas – use your China Bristle paintbrush.
Step 7: After the primer is dry, it’s time to start applying your coats of paint or paint stain following the same steps you used when priming.
Step 8: Repeat step seven until you’ve got at least two coats of paint. Let dry. And viola!
Now that your apartment floors are painted, it’s time add the new decor. If you went with red floors (similar to the above), here are some brilliant home decor ideas to compliment your new floor makeover.


